The Shiro API is organized around REST. Our API has predictable resource-oriented URLs, accepts form-encoded request bodies, returns JSON-encoded responses, and uses standard HTTP response codes, authentication, and verbs.
The Shiro API doesn’t support bulk updates. You can work on only one object per request.
Authentication
The Shiro API uses API keys to authenticate requests. Note that we also allow users to store LLM Provider API Keys, so don't confuse the two. In this article, I will be referring to Shiro API keys for using the Shiro API.
Your Shiro API keys carry many privileges, so be sure to keep them secure! Do not share your secret API keys in publicly accessible areas such as GitHub, client-side code, and so forth.
All API requests must be made over HTTPS. Calls made over plain HTTP will fail. API requests without authentication will also fail.
Managing Shiro API Keys
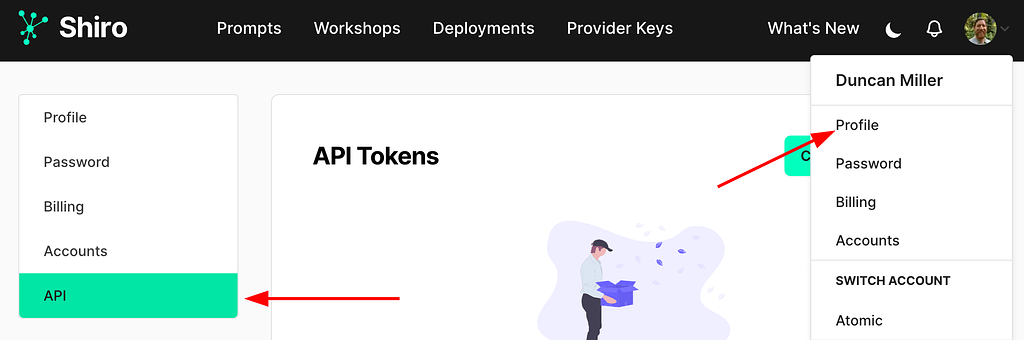
You can view and manage your Shiro API keys in the Shiro Dashboard. To create a new API key choose "Profile" from the dropdown menu under your name, then click the "API" tab:
Manage API Keys
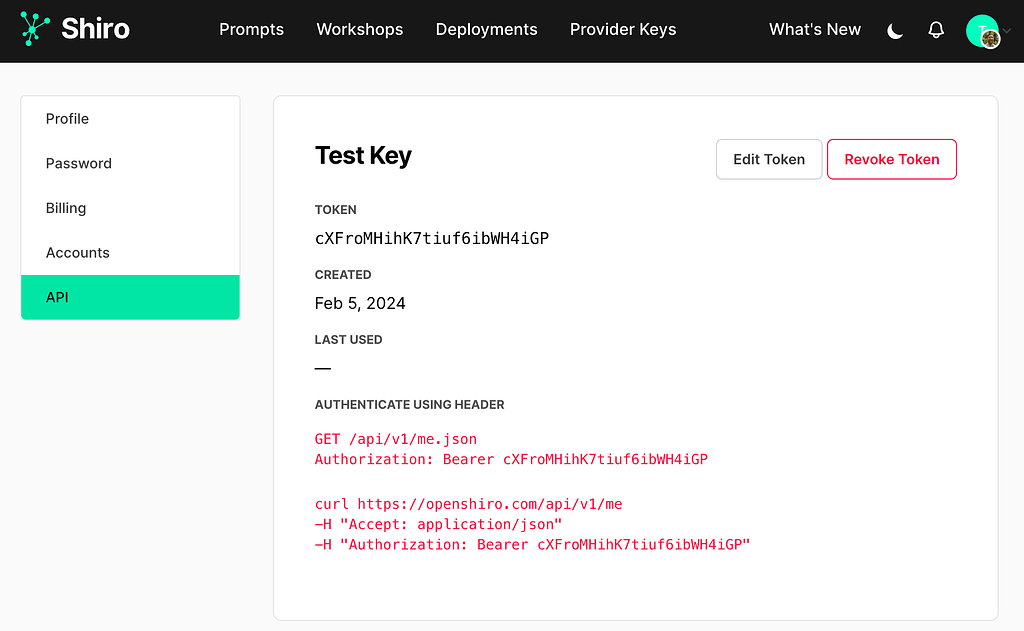
When viewing your API key, you will see a sample curl request using the token as the authorization bearer:
API Key Details